


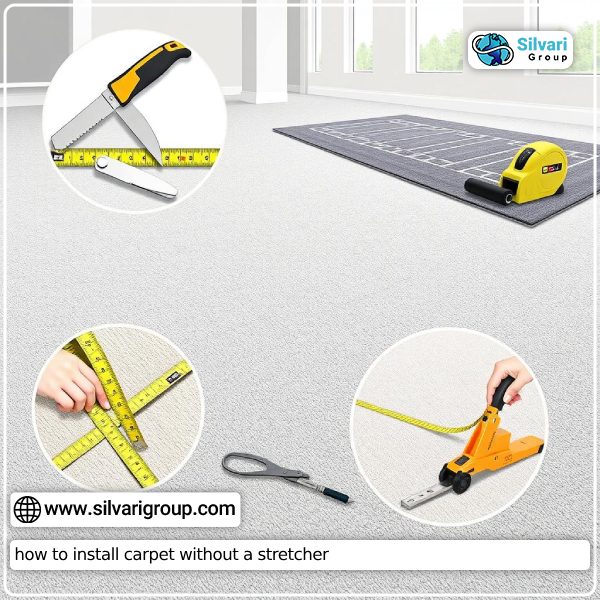
Installing carpet can seem scary, especially with a heavy-duty stretcher. But, there’s an easier way to get a professional look without the hassle. This guide will show you how to install carpet without a stretcher, making your home look great with ease.
Click to use Silverigroup personal shopper services
Understanding the Basics of Stretcher-Free Carpet Installation
Installing carpet without a stretcher is a popular choice for DIY lovers. It’s easy to do and can save money. But, knowing the basics is key for a job well done. This method is great because it’s easy to do yourself. You don’t need special tools or help from pros. Using the “stair-step” method, you can get a tight and smooth carpet finish.
But there are some challenges. Keeping the carpet tight and wrinkle-free needs attention to detail. You also need to think about your floor and carpet type. Some materials work better than others for this method. To avoid problems, learn about the tools and steps needed. Knowing the basics lets you start your project with confidence. You can get a professional look without a stretcher.
Click to buy antique rugs from Silverigroup
Essential Tools and Materials Needed for Installation
Starting a DIY carpet installation project needs the right tools and materials. This ensures a successful outcome. Whether you’re new or experienced, knowing what you need makes the process easier and faster. To start your carpet installation without a stretcher, you’ll need these tools and materials:
- Utility knife or carpet cutter
- Knee kicker or tack strip setter
- Hammer or mallet
- Tape measure
- Chalk line
- Seam roller
- Carpet padding
- Tack strips
- Adhesive or double-sided carpet tape
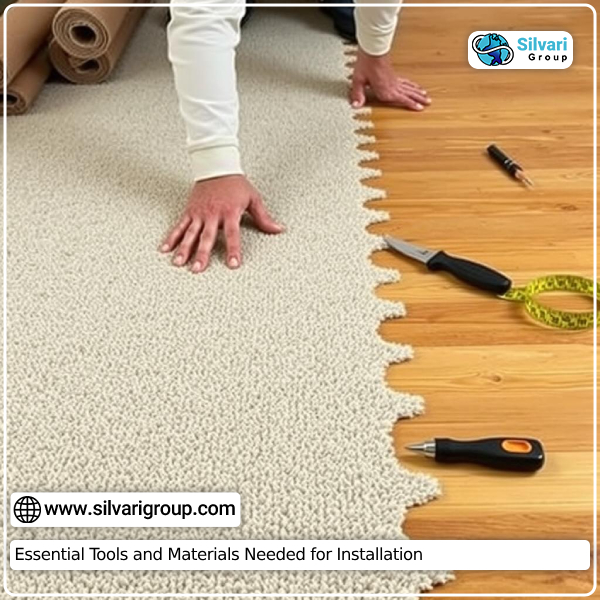
Essential Tools and Materials Needed for Installation
The utility knife or carpet cutter is key for cutting the carpet to the right size. The knee kicker or tack strip setter secures the carpet edges to the tack strips. A hammer or mallet is needed to install the tack strips firmly. A tape measure and chalk line help with precise measurements and layout.
The seam roller is crucial for a smooth transition between carpet sections. Carpet padding and tack strips provide a solid base for the carpet. Adhesive or double-sided carpet tape may be needed to keep the carpet in place during installation.
Click to buy citric acid from Silvairgroup
With these essential tools and materials, DIY enthusiasts can confidently start their stretcher-free carpet project. They can achieve professional-looking results.
Preparing the Room for Carpet Installation
Getting the room ready is crucial for a smooth carpet installation. First, remove any old flooring like hardwood, tile, or vinyl. Then, clean the subfloor well. This makes sure the new carpet has a clean, even base.
After exposing the subfloor, check for any uneven spots. If you find any, use a floor leveling compound to fix it. This is important to avoid any bumps in the carpet. Also, fix any moisture or damage to the subfloor to keep the carpet in good shape.
Next, measure the room and decide where the carpet will go. This helps you know how much carpet you need and where to put seams. Think about where furniture and obstacles like doors or vents will go to fit the carpet well.
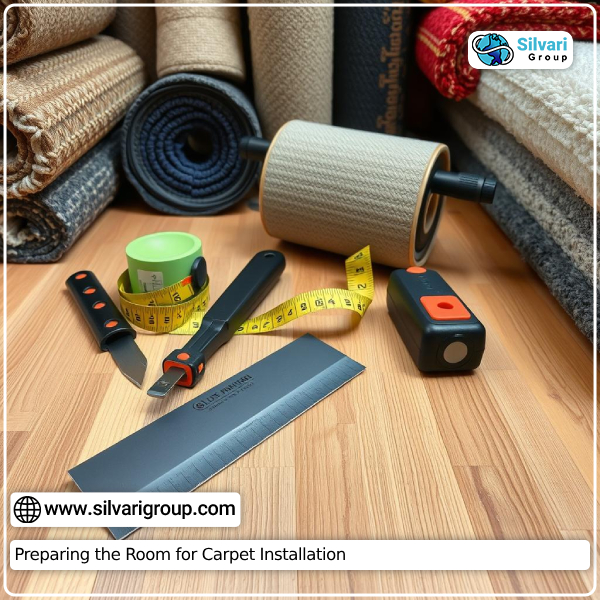
Finally, get the room ready for the carpet installation. Move furniture out and make sure the area is clean and free of debris. Taking these steps will help you have a carpet installation tips and a easy carpet installation that will last for years.
- Remove existing flooring
- Clean and level the subfloor
- Address any subfloor issues
- Measure the room and plan the layout
- Clear the room and remove debris
Click to buy antique products from Silverigroup
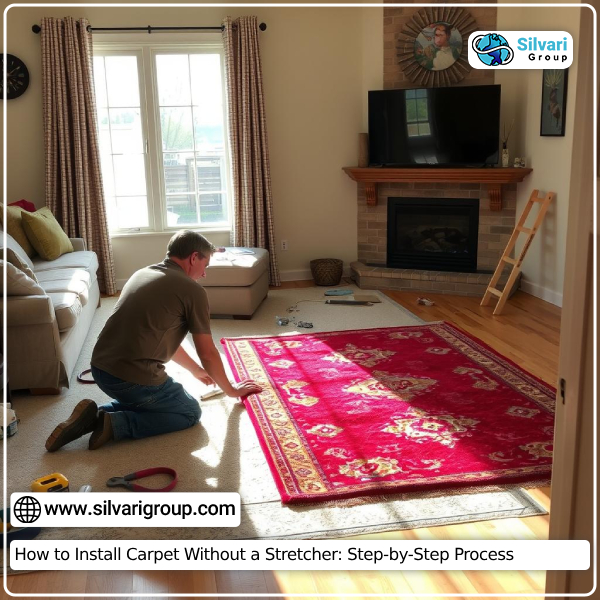
How to Install Carpet Without a Stretcher: Step-by-Step Process
Installing carpet without a stretcher might seem hard, but it’s doable for homeowners. You can get a pro-looking result without special tools. This guide will help you through the key steps for a successful DIY carpet installation.
Start by getting the room ready. Clean the subfloor well, removing any dirt or things that could get in the way. If the floor is uneven, use a leveling compound to fix it.
- Measure the room and cut the carpet to fit, leaving a bit extra at the edges.
- Put down the carpet padding, following the maker’s guide for how to place and stick it.
- Place the carpet carefully, making sure it matches the room’s size and edges.
- Use a knee kicker or carpet tucker to stretch and secure the carpet at the edges, bit by bit.
- Stick the edges with carpet tape or adhesive, making sure it fits tightly and smoothly.
- Trim off any extra carpet around the room’s edges, especially around doors and where different floors meet.
By following these steps for installing carpet without a stretcher, you can make your space look great with a pro carpet job. It saves time and money too. Just remember to take your time, measure right, and pay attention to the details for the best outcome.
Measuring and Cutting Carpet Accurately
Getting the measurements right and cutting the carpet accurately is key for a professional look. Learning the carpet laying techniques for measuring and cutting can greatly improve your carpet’s appearance and fit.
Begin by measuring the room’s dimensions carefully. Consider any unique shapes or irregularities. Use a good tape measure to record the length and width. Make sure to measure in different spots to account for any variations. This will help you figure out how much carpet installation tips you need.
- Measure the room length and width in several spots to ensure accuracy.
- Account for any patterns, seams, or irregular shapes that may affect the carpet fit.
- Add an extra 2-3 inches on each side to allow for proper carpet fitting and trimming.
When cutting the carpet, use a sharp utility knife and a straight edge for clean cuts. Align the carpet pattern and make adjustments as needed. This will help minimize waste and achieve a seamless, professional carpet installation.
lick to buy industrial products from Silverigroup
Mastering the art of measuring and cutting allows you to create a custom-fit carpet. This can greatly enhance the look and feel of your space.
Installing Tack Strips and Padding
The carpet installation process is very important. One key step is installing tack strips and padding right. These elements help your carpet stay in place and look great for a long time.
Tack strips, also known as tackless strips, are thin wooden or metal strips nailed around the room’s edge. They have small, angled nails that grip the carpet’s edges, keeping it in place. Installing these strips correctly is vital for a successful carpet installation process.
Padding is a cushioned layer between the subfloor and the carpet. It adds comfort and helps absorb impact, preventing wear and tear. Choosing the right padding is crucial for a comfortable and lasting DIY carpet installation.
- Measure the room and cut the tack strips to size, ensuring they fit snugly against the walls.
- Nail the tack strips in place, making sure the angled nails are facing the center of the room.
- Measure and cut the padding to fit the room, leaving a 1/4-inch gap between the padding and the walls.
- Secure the padding in place using a power stapler or adhesive, if necessary.
By carefully installing tack strips and padding, you’re on your way to a successful easy carpet installation. This will give you years of comfortable and stylish flooring. Remember, paying attention to detail is crucial for a seamless and professional-looking carpet installation process.
Laying the Carpet: Manual Techniques
Manual techniques can change the game when installing carpet without a stretcher. The knee-kicker and alternative tools are two popular methods. They make it easy to get a tight, wrinkle-free carpet, even without a power stretcher.
The Knee-Kicker Method
The knee-kicker is a handy tool for stretching and placing the carpet. Here’s how to use it:
- Place the knee-kicker against the wall, lining up the teeth with the carpet’s edge.
- Push down on the padded end with your knee, applying steady pressure to stretch the carpet.
- Move across the room slowly, using the knee-kicker to push the carpet tight and remove wrinkles.
Alternative Carpet Laying Tools
If you don’t like the knee-kicker, there are other tools to try. These include:
- Carpet stretcher bars: Small, handheld tools for stretching the carpet
- Hand staplers: For securing the carpet’s edges and seams without a power stretcher
- Carpet gripper tools: Grip the carpet’s edge and pull it tight into place
Learning these manual techniques lets you install carpet easily, without a power stretcher. With practice and the right tools, you can get a professional-looking carpet installation.
Conclusion
In summary, installing carpet without a stretcher is a budget-friendly and straightforward option for DIY enthusiasts. With basic tools and careful attention to detail, you can achieve a professional look in your space. Follow the steps diligently, and you’ll enjoy durable and stylish results.
FAQ
What are the benefits of installing carpet without a stretcher?
Installing carpet without a stretcher is cheaper and easier for DIY fans. It saves money on renting or buying a stretcher. It’s also great for those with little space or tools.
What tools and materials are needed for stretcher-free carpet installation?
You’ll need a utility knife, knee kicker, and carpet trimmer for DIY carpet installation. Don’t forget tack strips and a hammer. Also, have your carpet and padding ready. The right tools are key for a good job.
How do you prepare the room for stretcher-free carpet installation?
Start by removing old flooring and cleaning the subfloor. Make sure it’s level and fix any issues. This includes patching cracks and filling holes.
What are the steps for installing carpet without a stretcher?
First, measure and cut the carpet. Then, install tack strips and padding. Lay the carpet and stretch it with a knee kicker. Secure the edges and seams last. Don’t forget about transitions and doorways.